
Creating your own bird feeder is a fun and rewarding way to support garden birds, especially during colder months when food is scarce. With just a few materials and a bit of time, you can build a feeding station that not only attracts a variety of bird species but also contributes to local biodiversity.
Here, we'll guide you step by step through the process of making a simple and effective wooden bird feeding platform.
Why make your own bird feeder?
A homemade bird feeder is more than just a DIY project. It allows you to:
- Offer food tailored to the needs of local birds
- Reuse leftover materials in a sustainable way
- Experience nature up close – from your own garden or balcony
- Teach children about birds and conservation through a hands-on activity
Moreover, birds quickly learn to return to reliable feeding spots. With your own feeder, you're building a small haven for them – and enjoying their presence all year round.
What type of feeder are we making?
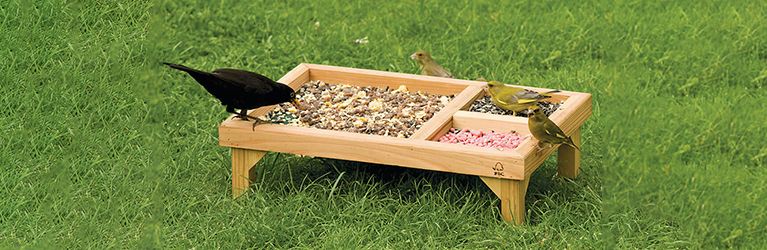
In this guide, we'll focus on a wooden feeding platform, also known as a tray feeder. This is one of the most accessible types of feeders and ideal for offering seeds, suet pellets or mealworms. It can be placed on a post, table or even on the ground.
Materials and tools you'll need
Materials:
- 4 wooden planks (±30 cm each for the sides)
- 1 wooden base (±30 x 30 cm)
- Galvanised screws or nails
- Wood glue (optional, for extra stability)
- 4 short wooden blocks or legs (optional, for elevation)
Tools:
- Saw
- Screwdriver or hammer
- Measuring tape
- Drill (optional, for drainage holes)
- Sandpaper
Use untreated, FSC-certified wood for an eco-friendly and bird-safe result.
Step-by-step instructions
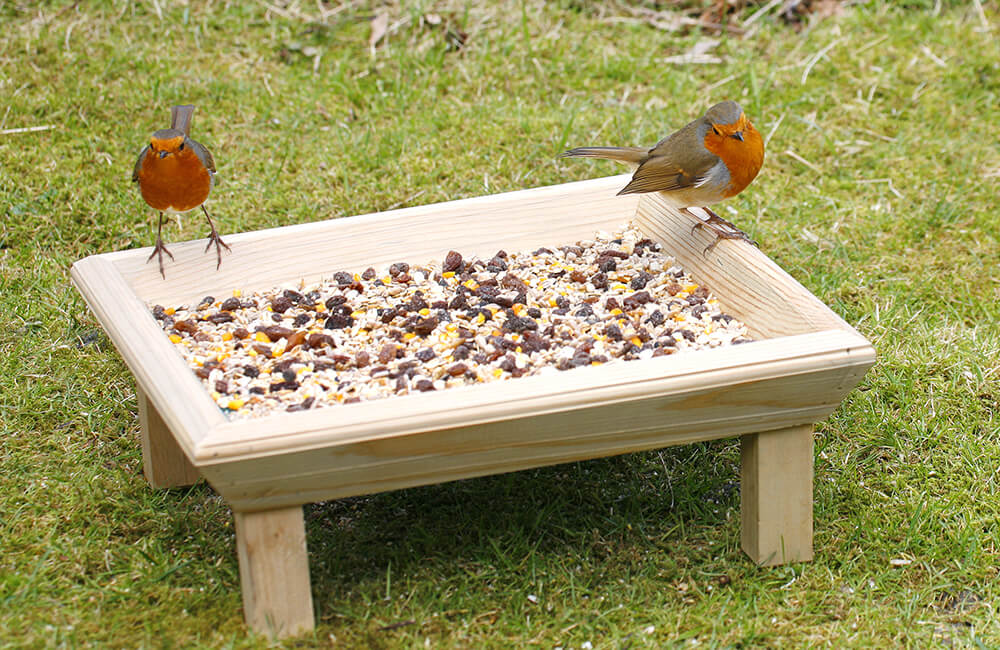
- Prepare the base
Start with a square or rectangular wooden base. You can drill a few small holes in it for water drainage. - Attach the sides
Fix the four planks upright along the edges of the base to create a shallow frame. This keeps the food from spilling and gives birds a perch to hold onto. - Add legs (optional)
If you'd like to raise the feeder, attach four short wooden blocks underneath each corner. This is especially useful for keeping the feeder off wet ground or for placing it on a table. - Sand the edges
Smooth all surfaces and corners to prevent injuries to birds or yourself. - Place your feeder
Choose a spot that is sheltered from wind and easily visible from your home. Avoid placing it too close to bushes where predators like cats could hide.
Tips for using your DIY feeder
- Clean the feeder regularly to prevent mould and diseases
- Refresh the food often – especially in warm or wet conditions
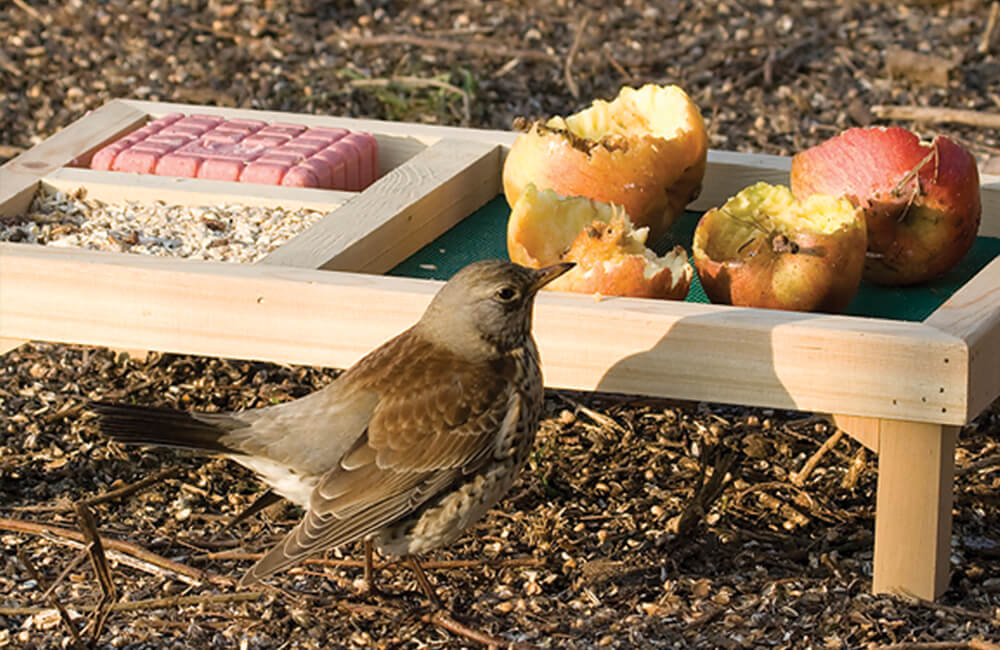
- Offer a mix of seeds, suet, and mealworms to attract different species
- Add a water dish nearby to provide drinking water year-round
- Monitor bird activity and adjust the location if needed
Want something ready-made?
Prefer a weatherproof, durable feeder without the tools and sawdust? At Vivara, we offer a wide range of high-quality bird feeders – developed with nature experts and tested by birds. Whether you’re looking for a hanging feeder, a modern design or something for your balcony, you’ll find the perfect match in our shop.