
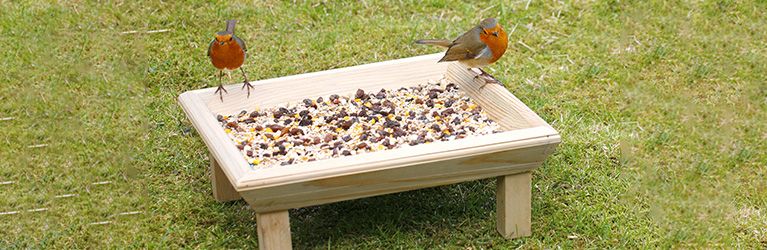
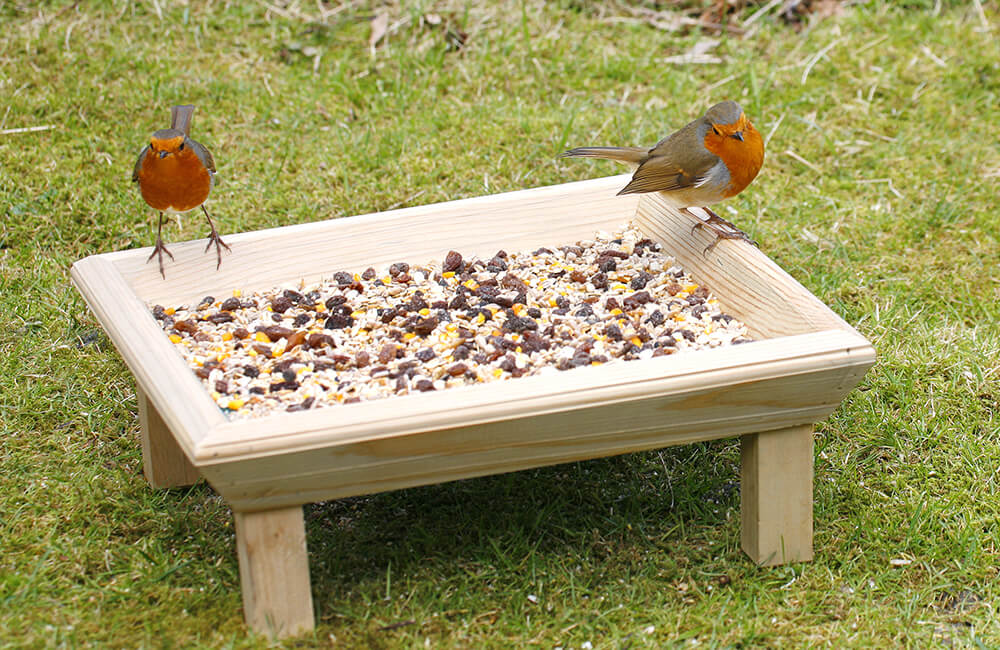
A bird table is a great way to provide food for birds all year round while enjoying the sight of them up close. By building your own bird table, you can create a safe and clean feeding station that is perfect for tits, robins, sparrows, and many other garden birds.
This step-by-step guide will show you how to build a sturdy and weatherproof bird table using simple materials.
1. Why build a bird table?
A bird table has many advantages over a simple ground feeding station:
✔ Hygiene – Keeps food clean and dry, reducing the risk of mold
✔ Safety – Elevated position protects birds from predators like cats
✔ Better visibility – Makes birdwatching easier
✔ Suitable for different bird species – Open and accessible for various birds
Tip: Adding a roof helps protect the food from rain and snow.
2. Materials and tools you need
Materials:
- Wooden board (at least 30 x 30 cm, untreated and weatherproof)
- Four wooden legs (about 50 cm long)
- Roof (optional, made from plywood or plastic sheet)
- Screws or nails
- Waterproof wood glue
- Wood treatment (linseed oil or eco-friendly wood stain)
Tools:
- Saw (jigsaw or handsaw)
- Drill and screwdriver or hammer
- Sandpaper or sanding machine
- Measuring tape and pencil
Tip: Do not use chemically treated or painted wood, as it may be toxic to birds.
3. Step-by-step guide to building a bird table
Step 1: preparing the base
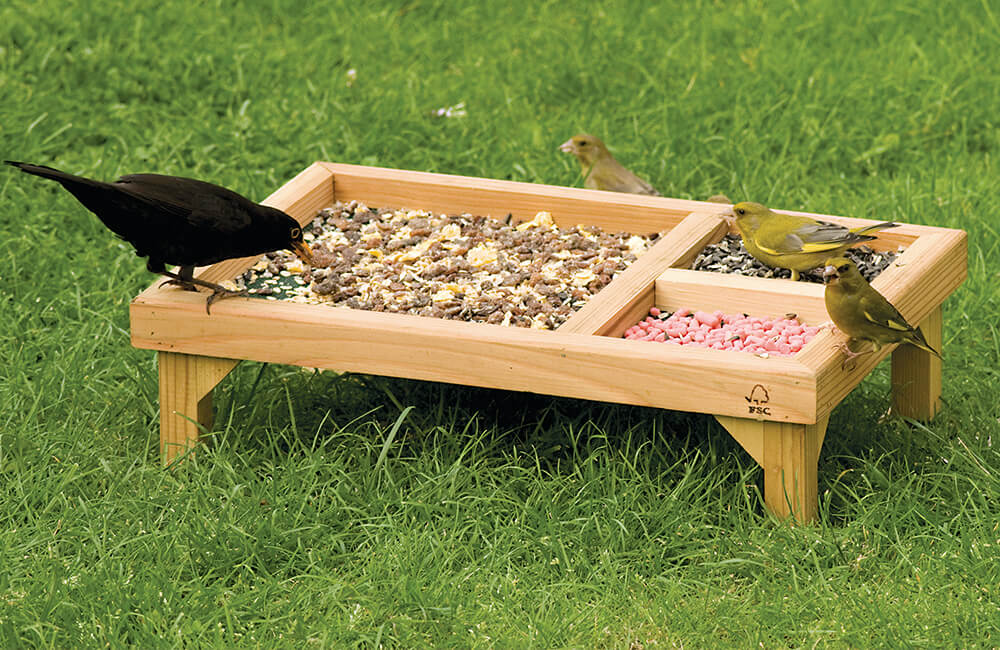
Size: At least 30 x 30 cm, so multiple birds can feed at once.
✔ Sand the edges to prevent injuries.
✔ Optional: Drill small drainage holes to allow rainwater to escape.
Step 2: adding side edges
✔ Attach small wooden strips around the edges to prevent food from blowing away.
Step 3: attaching the legs or pole
Two options:
- Four-leg model: Attach one leg at each corner for a freestanding table.
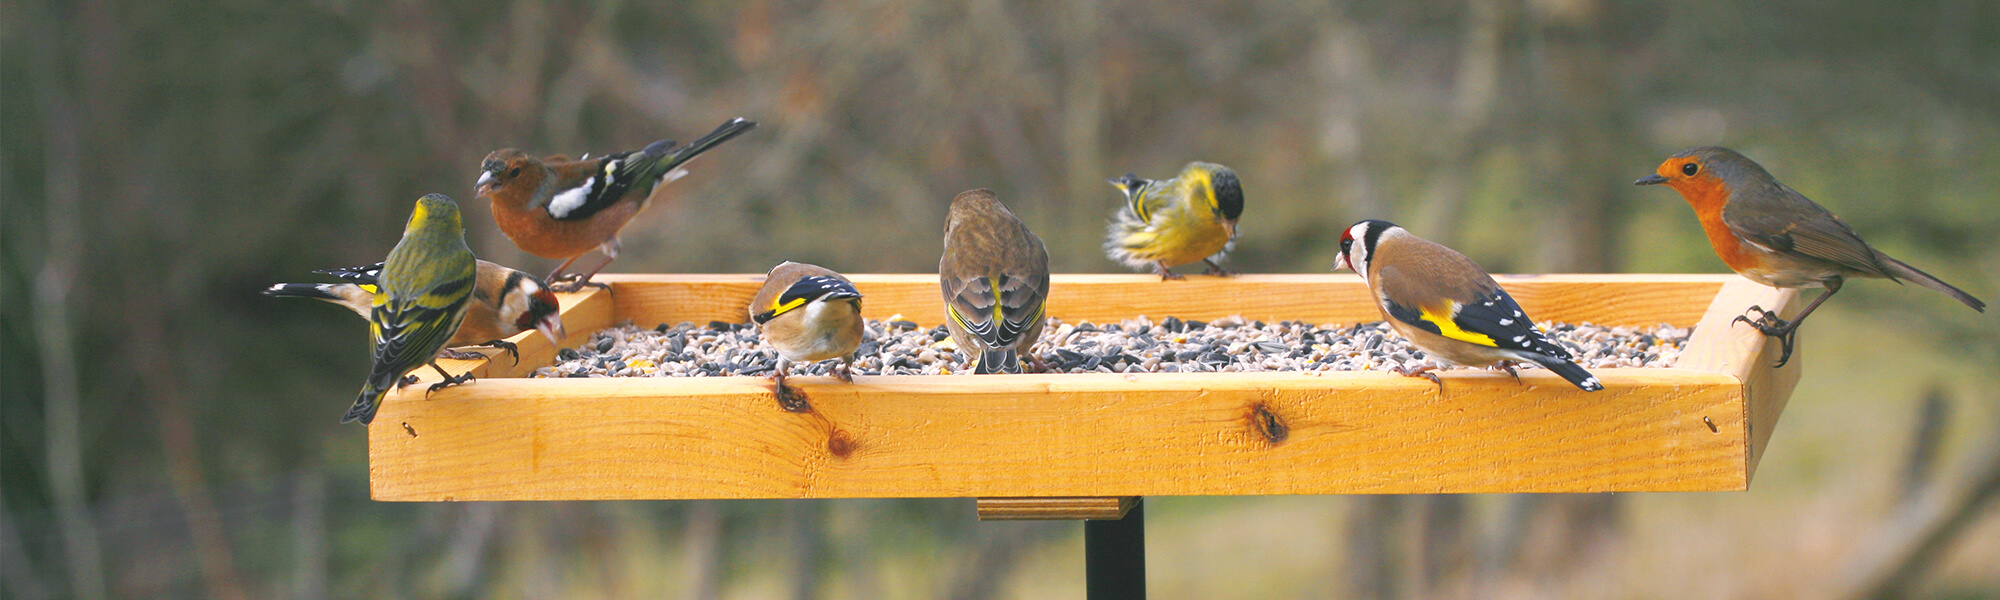
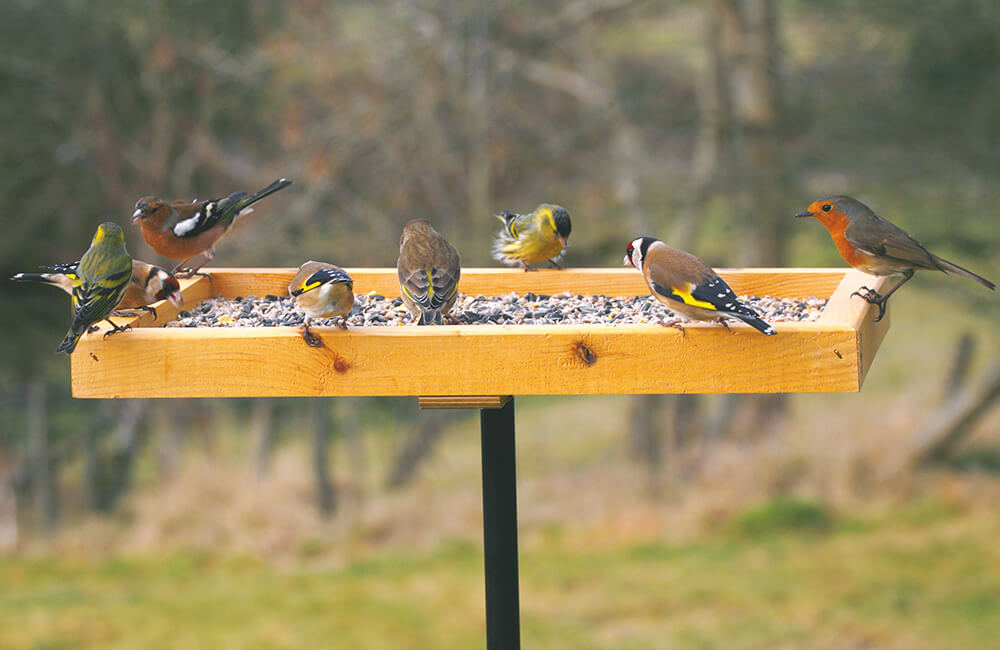
- Single post model: Mount the tabletop onto a sturdy wooden pole (at least 1.2 meters high).
Step 4: installing a roof (optional)
✔ A roof helps protect food from rain and snow.
✔ The roof should extend at least 5 cm beyond the table edges to keep food dry.
Tip: Leave enough space on the sides so birds can land and take off easily.
4. Making the bird table weatherproof
To ensure your bird table lasts for years, it should be protected against the elements:
- Treat the wood with linseed oil or an eco-friendly stain (avoid chemical varnishes).
- Do not use glossy paints that could make the surface slippery.
- If using a wooden roof, cover it with felt or a plastic sheet for extra durability
5. Where to place the bird table
- Attach the front and side panels using screws or nails.
- Insert and secure the bottom panel.
- Fix the back panel in place.
- Attach the roof, ensuring it slightly overhangs for extra protection.
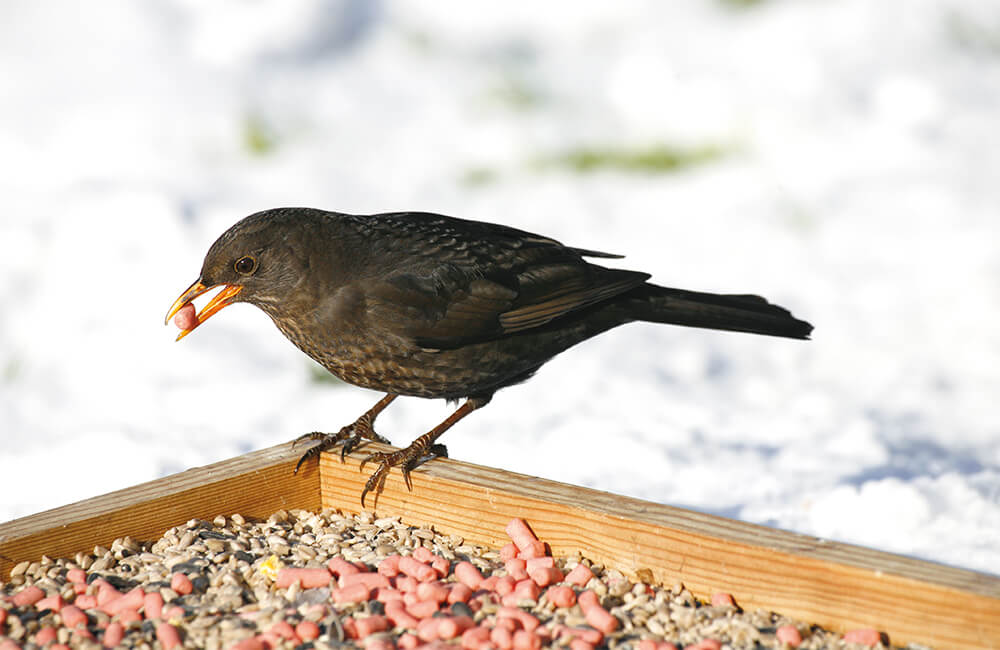
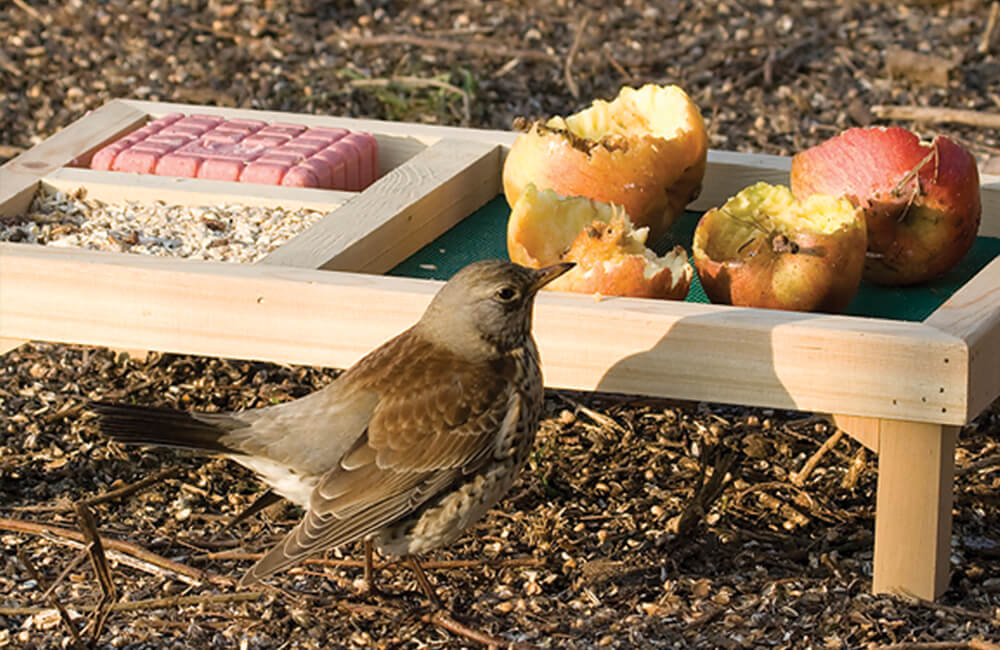
6. Which birds will use a bird table?
Common birds that love bird tables:
- Tits (blue tits, great tits)
- Sparrows (house sparrows, tree sparrows)
- Robins
- Blackbirds
- Chaffinches
Birds that may avoid it:
- Woodpeckers and nuthatches prefer hanging feeders
- Pigeons and crows may dominate – a smaller tabletop can prevent larger birds from taking over
7. Cleaning and maintaining your bird table
Regular cleaning is essential to prevent disease!
✔ Remove uneaten food daily
✔ Clean at least once a week with hot water (no chemicals!)
✔ Keep food dry and replace it regularly
✔ During frost and snow, refill frequently to support birds in winter
What to avoid:
- Leaving old or moldy food on the table
- Using salted, spiced, or processed food
- Placing the table too close to dense bushes, where cats could hide
A bird table is a great addition to any garden!
Key takeaways:
✔ A bird table is a safe, clean, and stable feeding station
✔ Choose weatherproof, untreated wood
✔ Build a raised, sturdy table with a non-slip feeding surface
✔ Place it in a protected but visible location
✔ Clean it regularly to keep birds healthy
By building your own bird table, you’ll help local birds while enjoying the beauty of nature up close. Have fun with your DIY project!